Do You Need a Drill to Assemble Furniture? Practical Guide for DIYers
Learn whether you need a drill for furniture assembly, when to use one, and safer alternatives. Practical guidance for DIY enthusiasts from Disasembl.

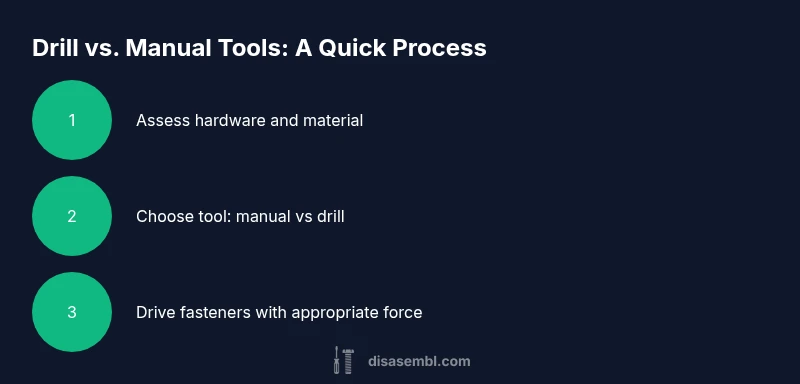
Do you need a drill to assemble furniture? Not necessarily. A drill is helpful for driving screws quickly and for predrilled holes, but many flat-pack items can be assembled with a manual screwdriver or hex key. The decision depends on screw type, material, and joint design, and your comfort with power tools. According to Disasembl, choosing the right tool at the right moment saves time and protects joints.
What determines the need for a drill in furniture assembly
Do you need a drill to assemble furniture? The short answer is: it depends. According to Disasembl, the choice hinges on screw type, material, and joint design, as well as the manufacturer's recommendations. If the kit uses long wood screws, cam locks, or self-tapping screws in dense materials, a drill or cordless driver can dramatically speed things up and ensure consistent torque. However, for many ready-to-assemble (RTA) pieces, a good screwdriver or hex key is perfectly adequate. The goal is to achieve secure joints without causing damage such as stripped screws or crushed panels. This balance between speed and control is central to a successful build, and recognizing when to switch techniques is a hallmark of a thoughtful DIY workflow.
Key considerations to guide your decision
- Screw type: Self-tapping wood screws vs. machine screws require different approaches. A drill helps when screws need a pilot hole or deeper insertion.
- Material: Hardwoods, plywood, MDF, and particleboard respond differently to drilling; excessive torque can cause cracking or dimpling on soft materials.
- Joint design: Corner joints, butt joints, or cam-lock assemblies each have distinct needs. If a joint relies on precise alignment, a drill with a clutch reduces the risk of misalignment.
- Manufacturer guidance: Always check the manual. Some kits specify the use of a drill or explicitly caution against overdriving fasteners.
The goal is to maintain control while delivering consistent results. Disasembl emphasizes reading the hardware list first to determine whether power tools will add value or introduce risk.
Practical approach: start manual, escalate only if needed
Begin with hand tools to gauge fit and alignment. If joints resist or require many screws, switch to a drill or driver set to a low torque. This staged approach minimizes mistakes and keeps you in control of the assembly pace. If you encounter frequent resistance, pause, recheck alignment, and consider whether pre-drilling is warranted. By following this measured path, you optimize both time and joint integrity without assuming you must power through every step.
Quick-start mindset: assemble with intention
- Align parts before tightening any fasteners; wrong alignment is hard to fix later.
- Pre-sort screws and washers so you always reach for the right piece.
- Test-fit sections frequently to catch misalignment early.
- Keep a calm pace and avoid forcing components; forcing can strip holes or crack panels.
Disasembl notes that a deliberate, stepwise approach often yields better results than rushing with a drill right away.
Tools & Materials
- Cordless drill/driver(Optional for speed; use with low torque to start.)
- Screwdriver set(Flathead and Phillips variety to cover common fasteners.)
- Allen key set (hex keys)(Some assemblies use hex screws; keep a range handy.)
- Hammer(Light tapping can help seat dowels or align parts; use gently.)
- Measuring tape(For aligning panels and ensuring plumb edges.)
- Pencil(Mark drill points or alignment references.)
- Safety glasses(Protect eyes from flying debris during drilling or tapping.)
- Pilot drill bits(Useful when predrilling for hard woods or particleboard.)
- Level(Check horizontal and vertical alignment as you build.)
Steps
Estimated time: 60-90 minutes
- 1
Open kit and inventory hardware
Unpack all components and cross-check against the hardware list in the manual. Separate screws, dowels, cams, and panels. This upfront check reduces mid-assembly surprises and helps plan tool use. Double-check dimensions to ensure you’re working with the correct parts for each step.
Tip: Take a photo of the layout to reference if parts get mixed up. - 2
Prepare tools and workspace
Lay out screwdrivers, hex keys, and the drill/driver if you’re using one. Set torque/clutch to a low setting to prevent overdriving. Clear a flat, well-lit space and keep fasteners organized in trays labeled by size.
Tip: Charge the drill battery fully before starting. - 3
Dry-fit joints and align panels
Before fastening, dry-fit the parts to check alignment. Adjust as needed, using clamps or temporary supports if parts don’t sit flush. This step catches misalignment that would be hard to fix after screws are in.
Tip: Use a square or level to confirm right angles during dry-fit. - 4
Decide where to drill pilot holes
If the material is dense or the screw is long, mark pilot holes with a pencil and select a bit just smaller than the screw’s core. In particleboard or MDF, pilot holes reduce splitting and give you cleaner screw entry. Start with manual guidance before powering up.
Tip: Test drill a sample scrap to confirm hole size feels right. - 5
Drive screws with appropriate tool
Begin screws by hand to locate threads, then switch to the driver at a conservative speed. Maintain alignment while driving, and stop when the head sits flush with the surface. If using a drill, use a clutch to avoid over-tightening.
Tip: Back out and re-seat screws if you notice wobble or misalignment. - 6
Check alignment and tighten in sequence
Verify all joints are square and plumb. Tighten gradually in a crisscross pattern if multiple screws hold a panel. This distributes load evenly and prevents warping.
Tip: Use a level to confirm horizontal surfaces remain true as you go. - 7
Finish, test stability, and tidy up
Do a quick stability test by applying gentle pressure to each panel. If everything feels solid, complete any remaining cosmetic adjustments and store extra parts safely. Label the completed piece with any notable maintenance notes for future disassembly.
Tip: Keep a small container for leftover screws and hardware.
Got Questions?
Is a drill necessary for all furniture types?
No. Many furniture kits rely on manual tools like screwdrivers and Allen keys. A drill becomes helpful for speed and consistency on dense materials or long screws. Always follow the kit’s instructions and use the tool that preserves joint integrity.
No, a drill isn’t always necessary. Use manual tools first, and only use a drill if the kit calls for it or you need to speed up stubborn screws.
What drill settings are safest for wood furniture?
Use a low torque/clutch setting and a slow speed when starting screws. Start with pilot holes on hard woods and gradually increase speed as you confirm alignment.
Set the drill to a gentle speed with low torque and start with pilot holes on hard woods.
Can I use a drill on particleboard or MDF safely?
Yes, but use pilot holes and avoid over-tightening. Particleboard and MDF can crumble if screws are driven too aggressively.
You can, but pre-drill and don’t over-tighten to protect particleboard and MDF.
Should I drill pilot holes even if the manual says not to?
If the material is prone to splitting or the screw is long, pilot holes help. When in doubt, test on a scrap piece.
Pilot holes are often a good idea for dense materials. Test first if unsure.
Are cordless screwdrivers enough for IKEA-style furniture?
For many IKEA-like builds, a cordless screwdriver with a clutch and the correct bit is sufficient. A drill offers speed, but control matters most for delicate joints.
A cordless driver can do the job, but ensure you control torque to protect joints.
What maintenance helps my drill last longer for furniture work?
Keep bits sharp, clean the chuck, replace worn bits, and store the drill with a charged battery. Regularly inspect the clutch and safety features.
Keep bits sharp, clean the chuck, and store with a full battery charge.
Watch Video
What to Remember
- Evaluate hardware before tool choice.
- Pilot holes improve joint integrity.
- A drill speeds assembly, but isn’t always required.
- Keep safety gear on and avoid over-tightening.
- Plan steps to minimize rework.